
Materials
Here is a list of just about all the materials you'll need (other than obvious things like scissors and sewing materials). Each picture is also a quick link where to purchase, but you may want to look around a bit more!
| Item | Pic/Link | What it's used for |
|---|---|---|
| Cling Wrap | 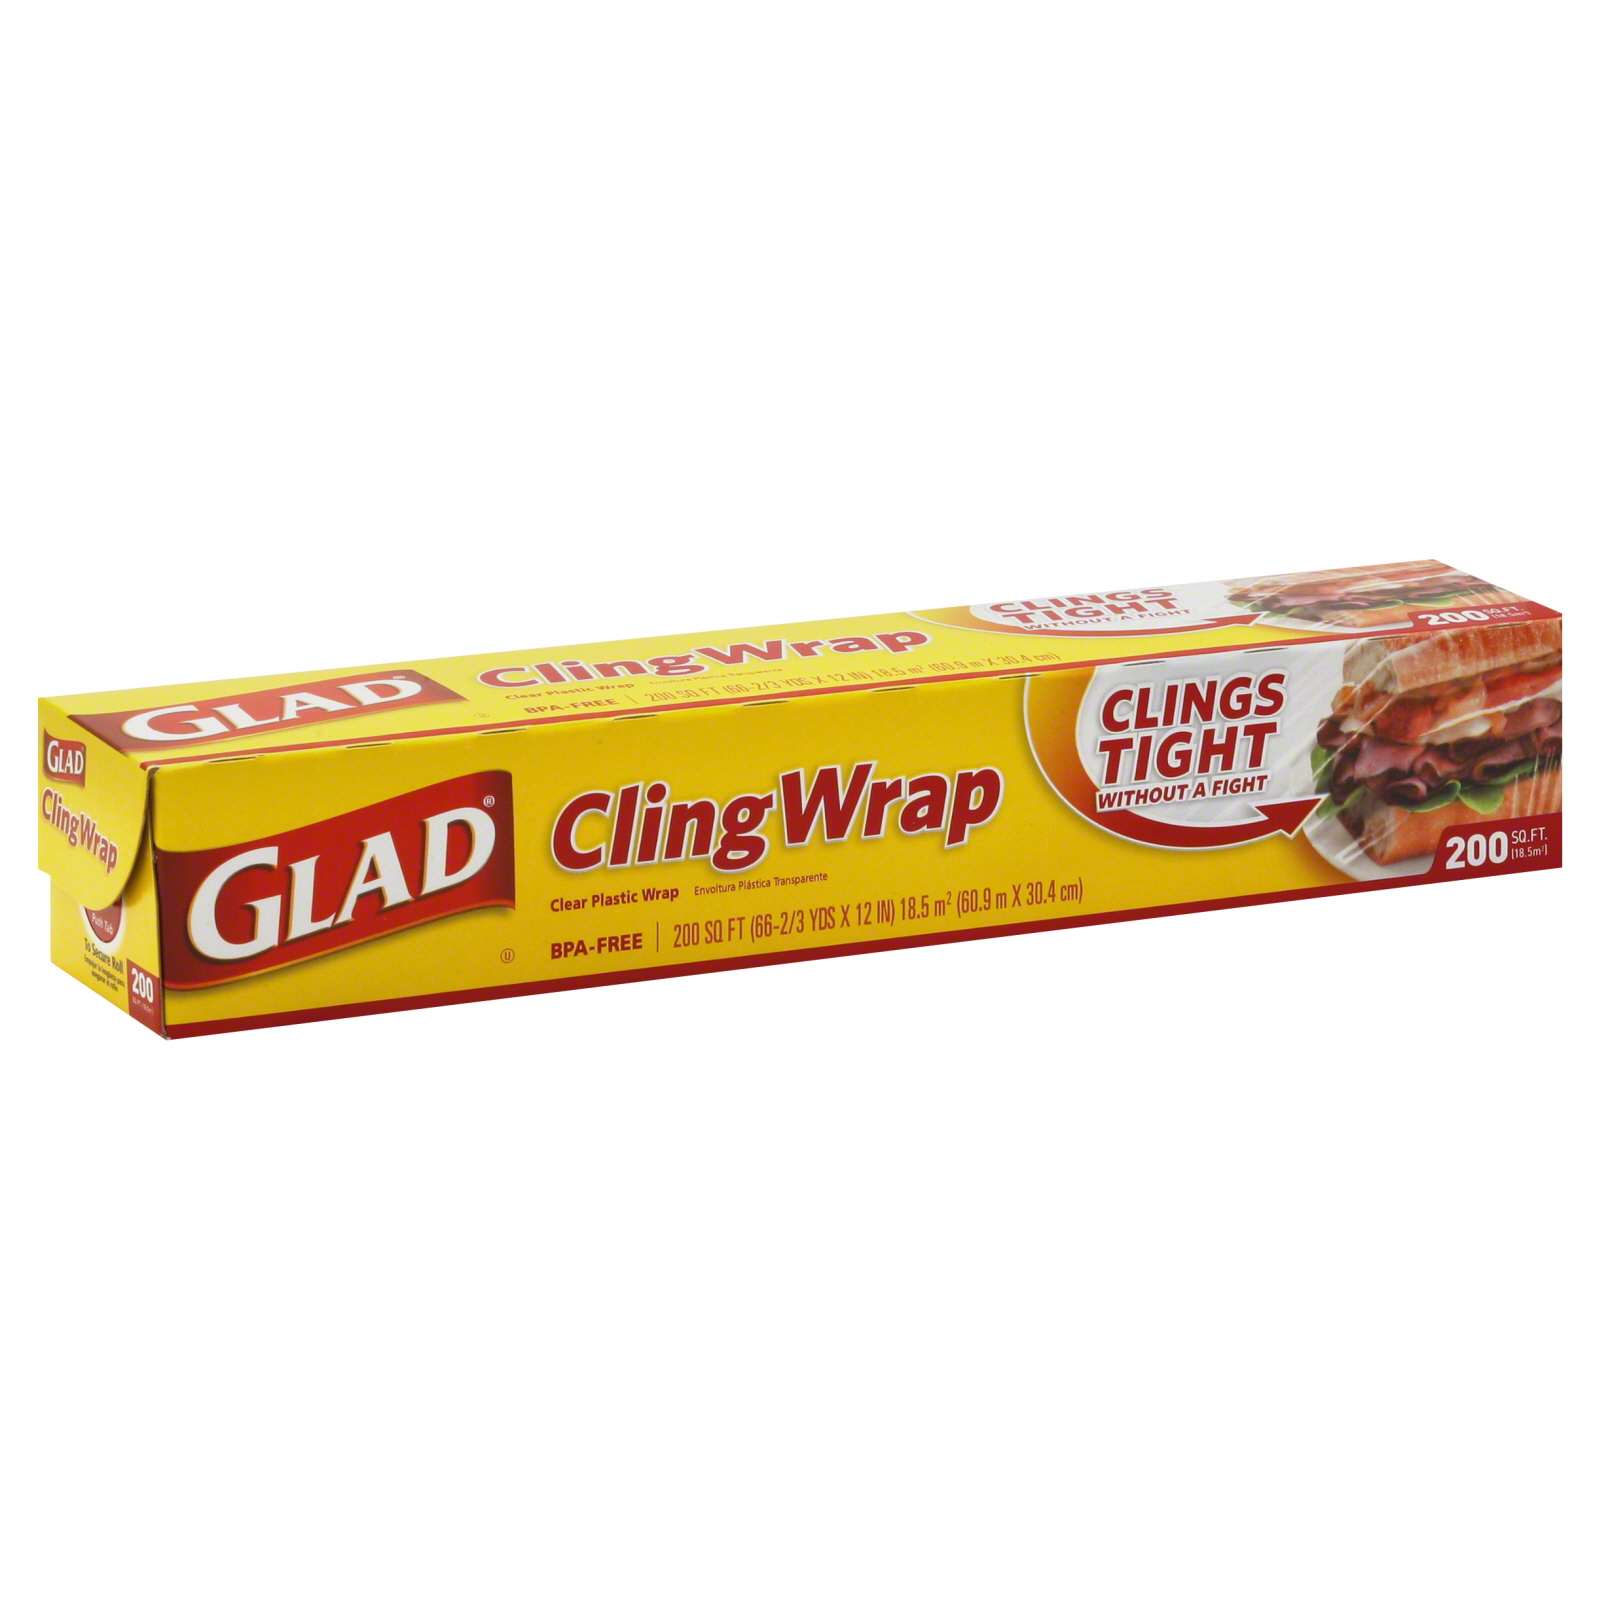 |
Use this under the tape when wrapping your head, protects your hair and wig cap. |
| Masking Tape | 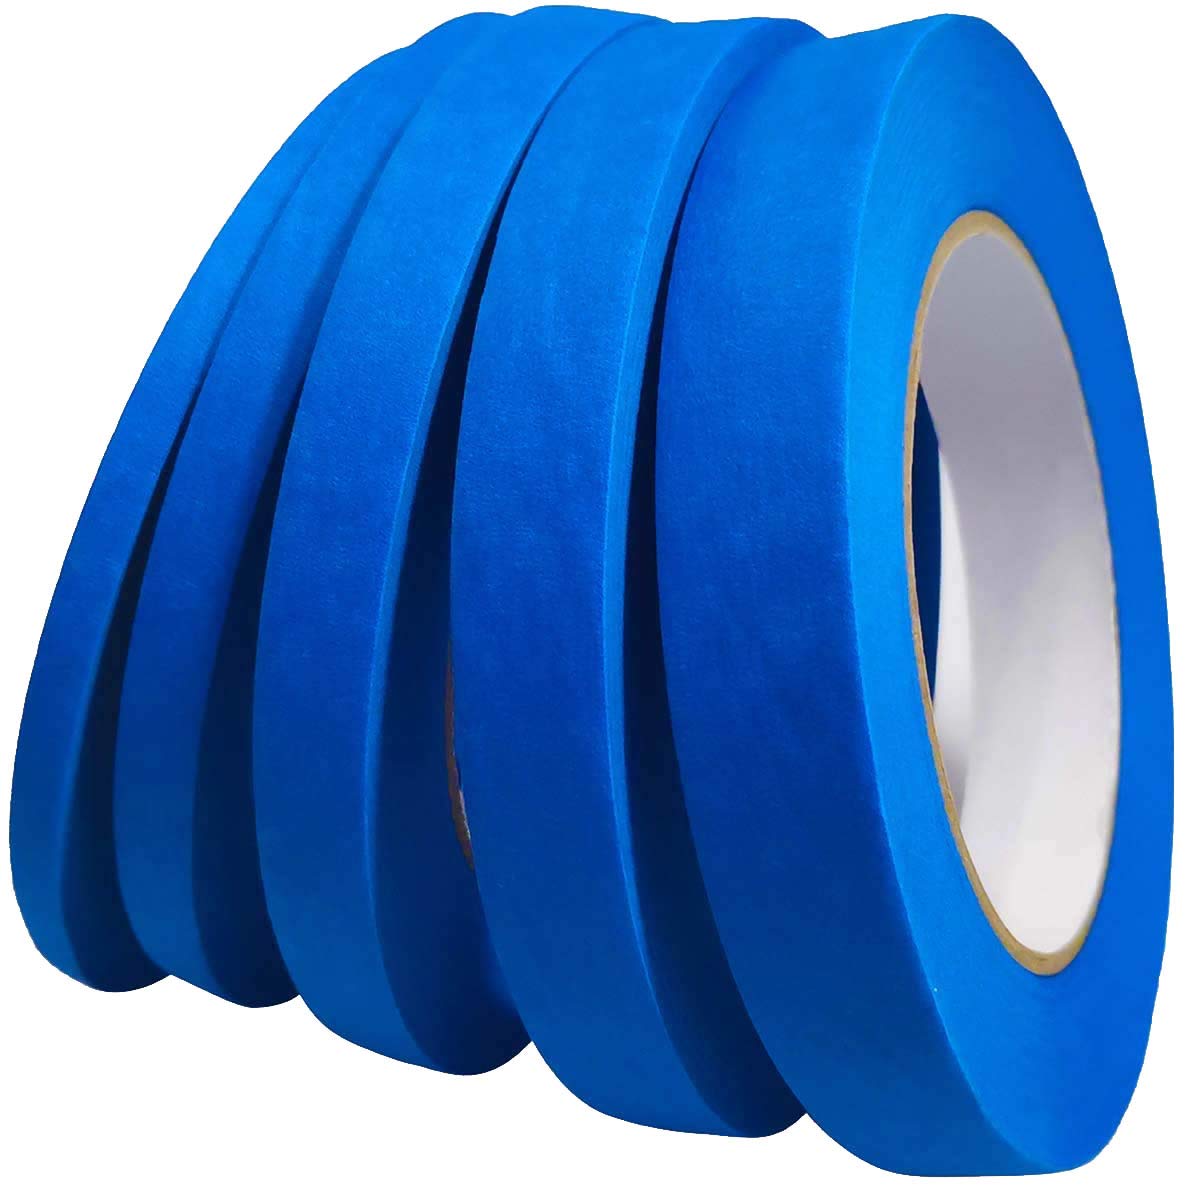 |
To wrap your head with to make a little helmet, used to draft a pattern for your foam. |
| EVA Foam |  |
This is used for the base head of the piece, essentially it's the helmet under the tentacles, for this I used 8mm, I recommend using either 6mm or 8mm depending on how thick you want the base. |
| Exacto Knives | 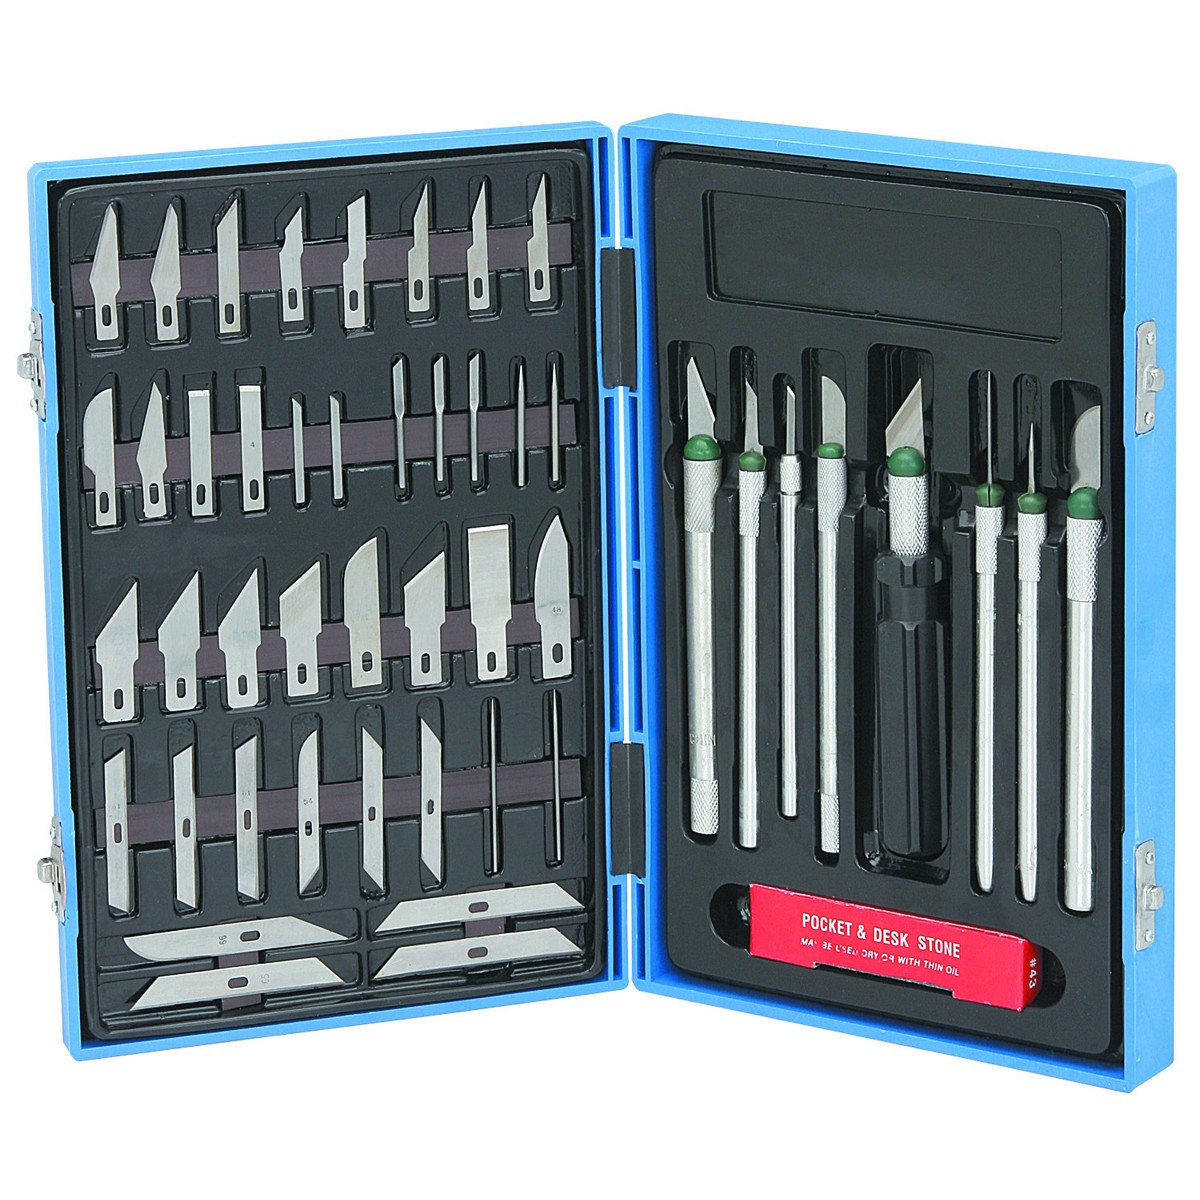 |
Used for cutting exact shapes in foam, technically you could use scissors, but you'll probably ruin them so take caution. |
| Heatgun | 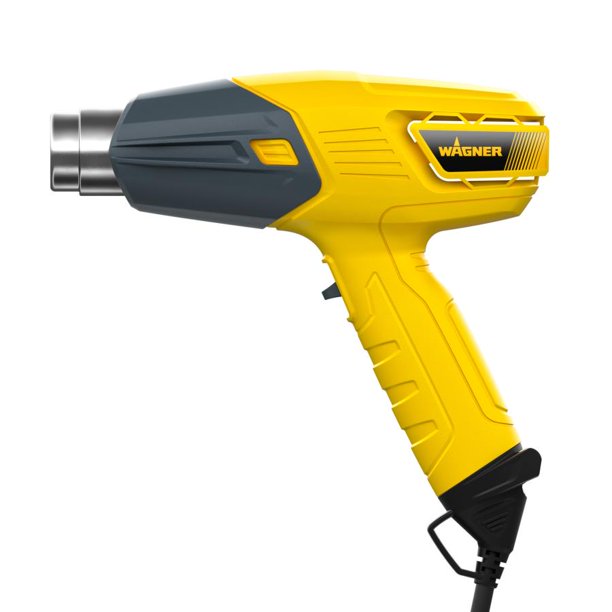 |
Used for bending your foam to the right shapes. If you don't have one you can maybe get away with a hair dryer and some patience with thinner foam. |
| Contact Cement | 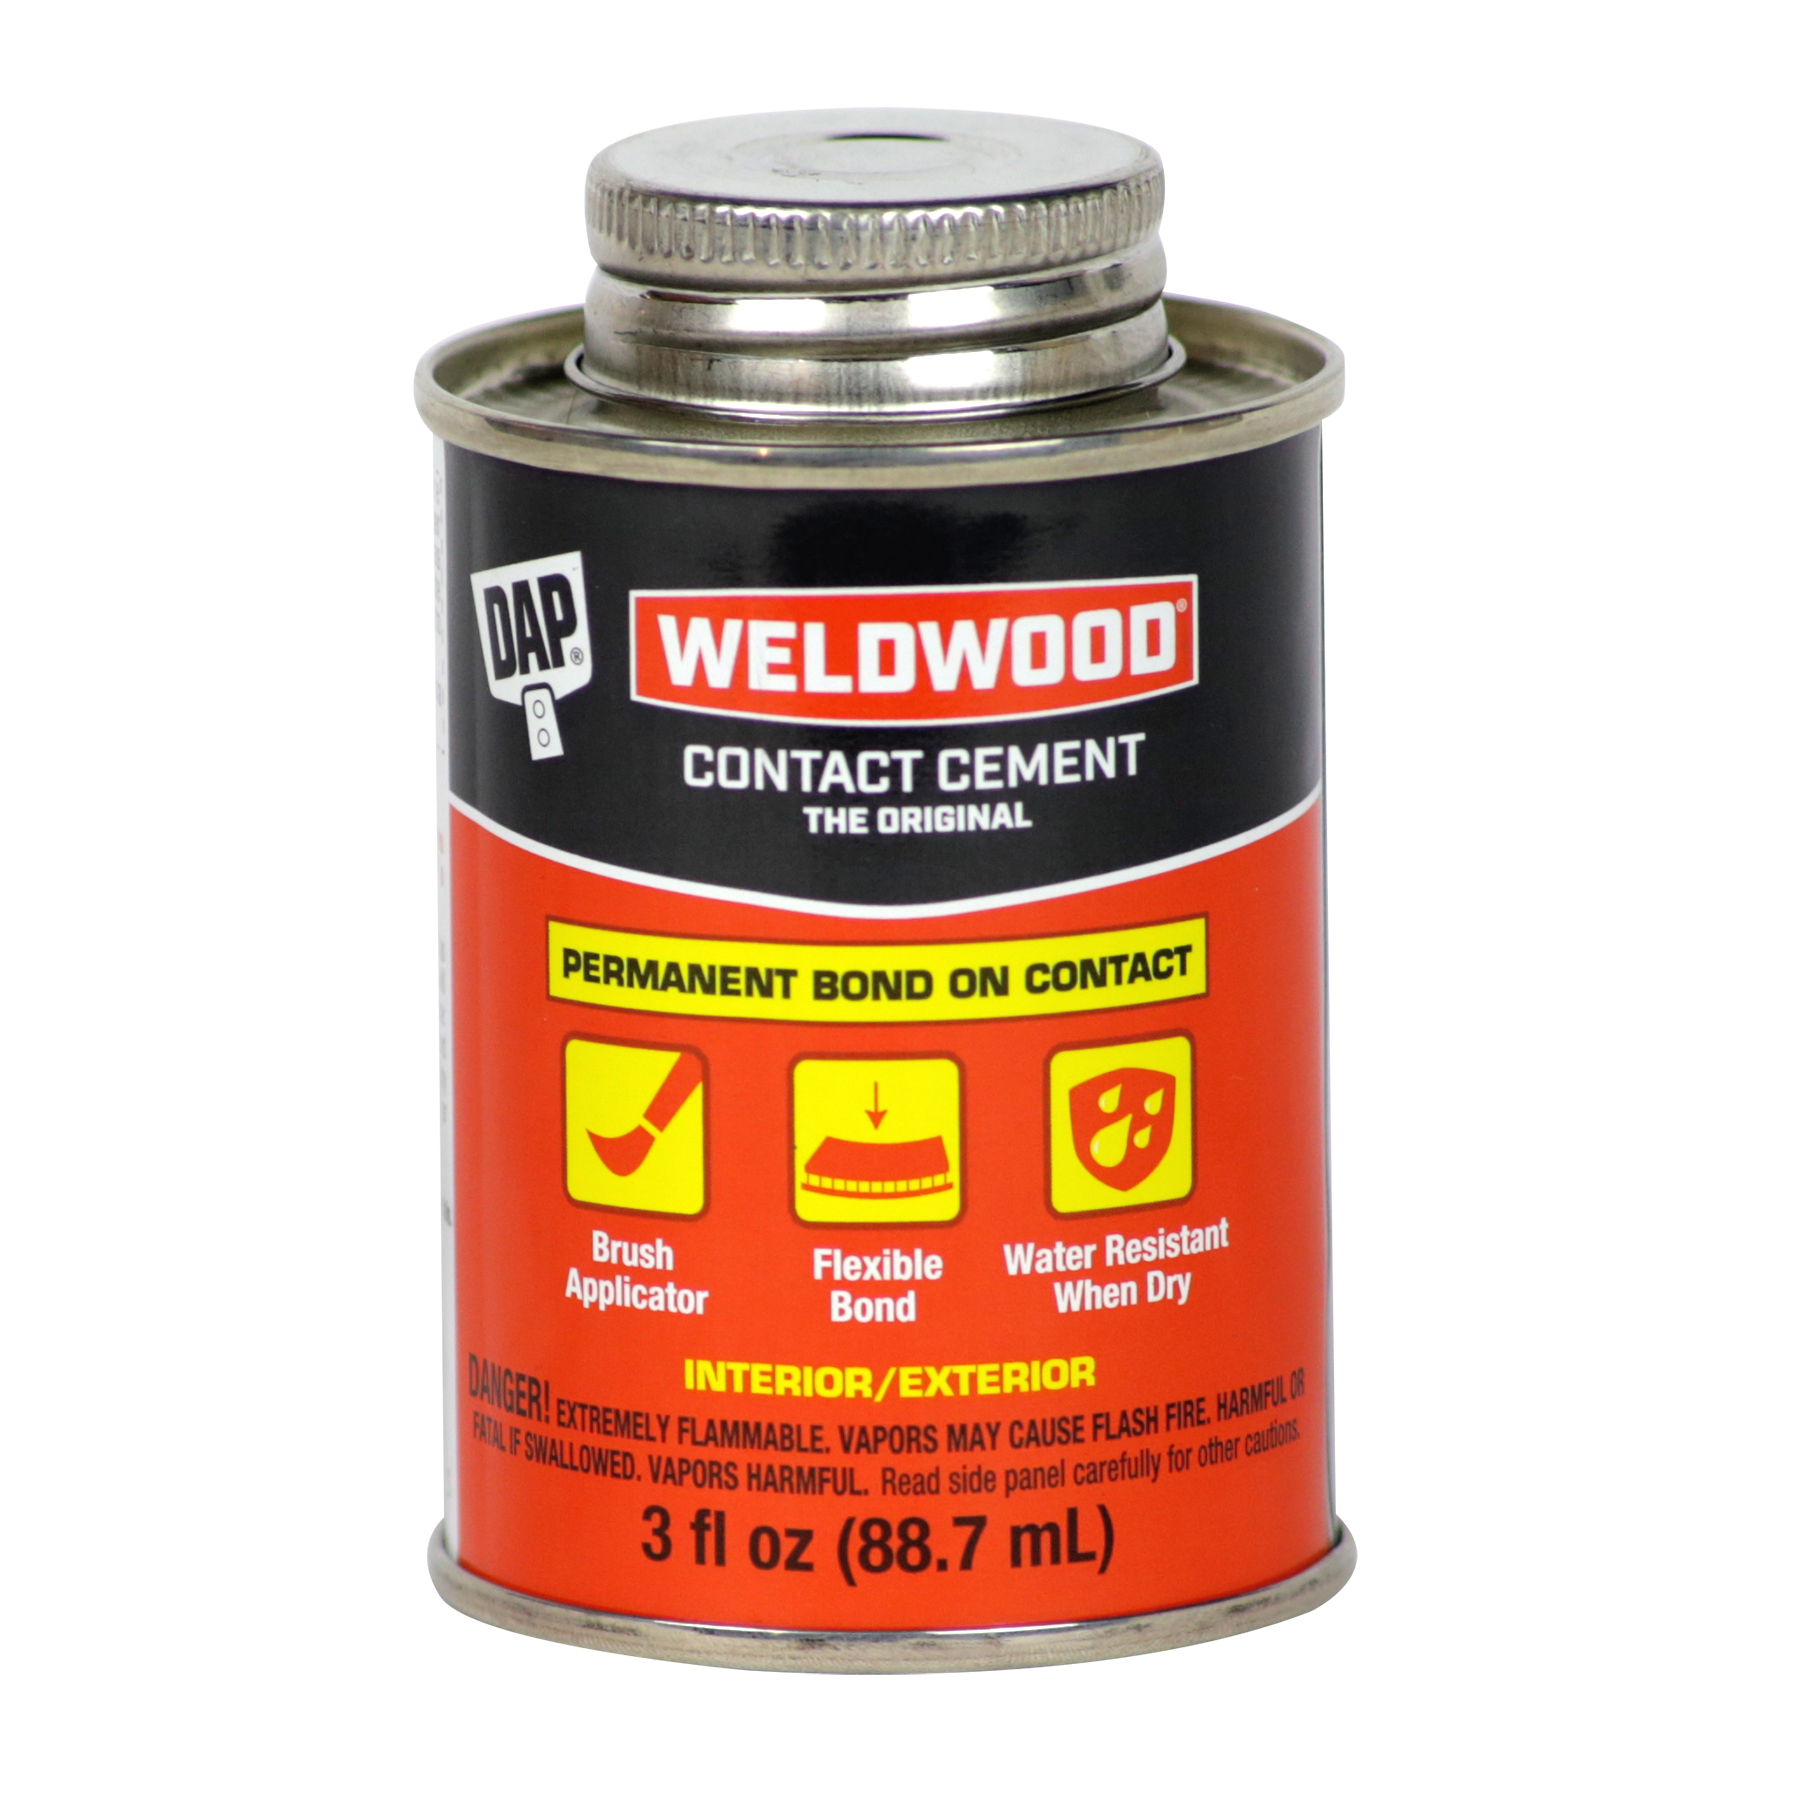 |
For gluing all of the foam pieces together. |
| Resin Glue | 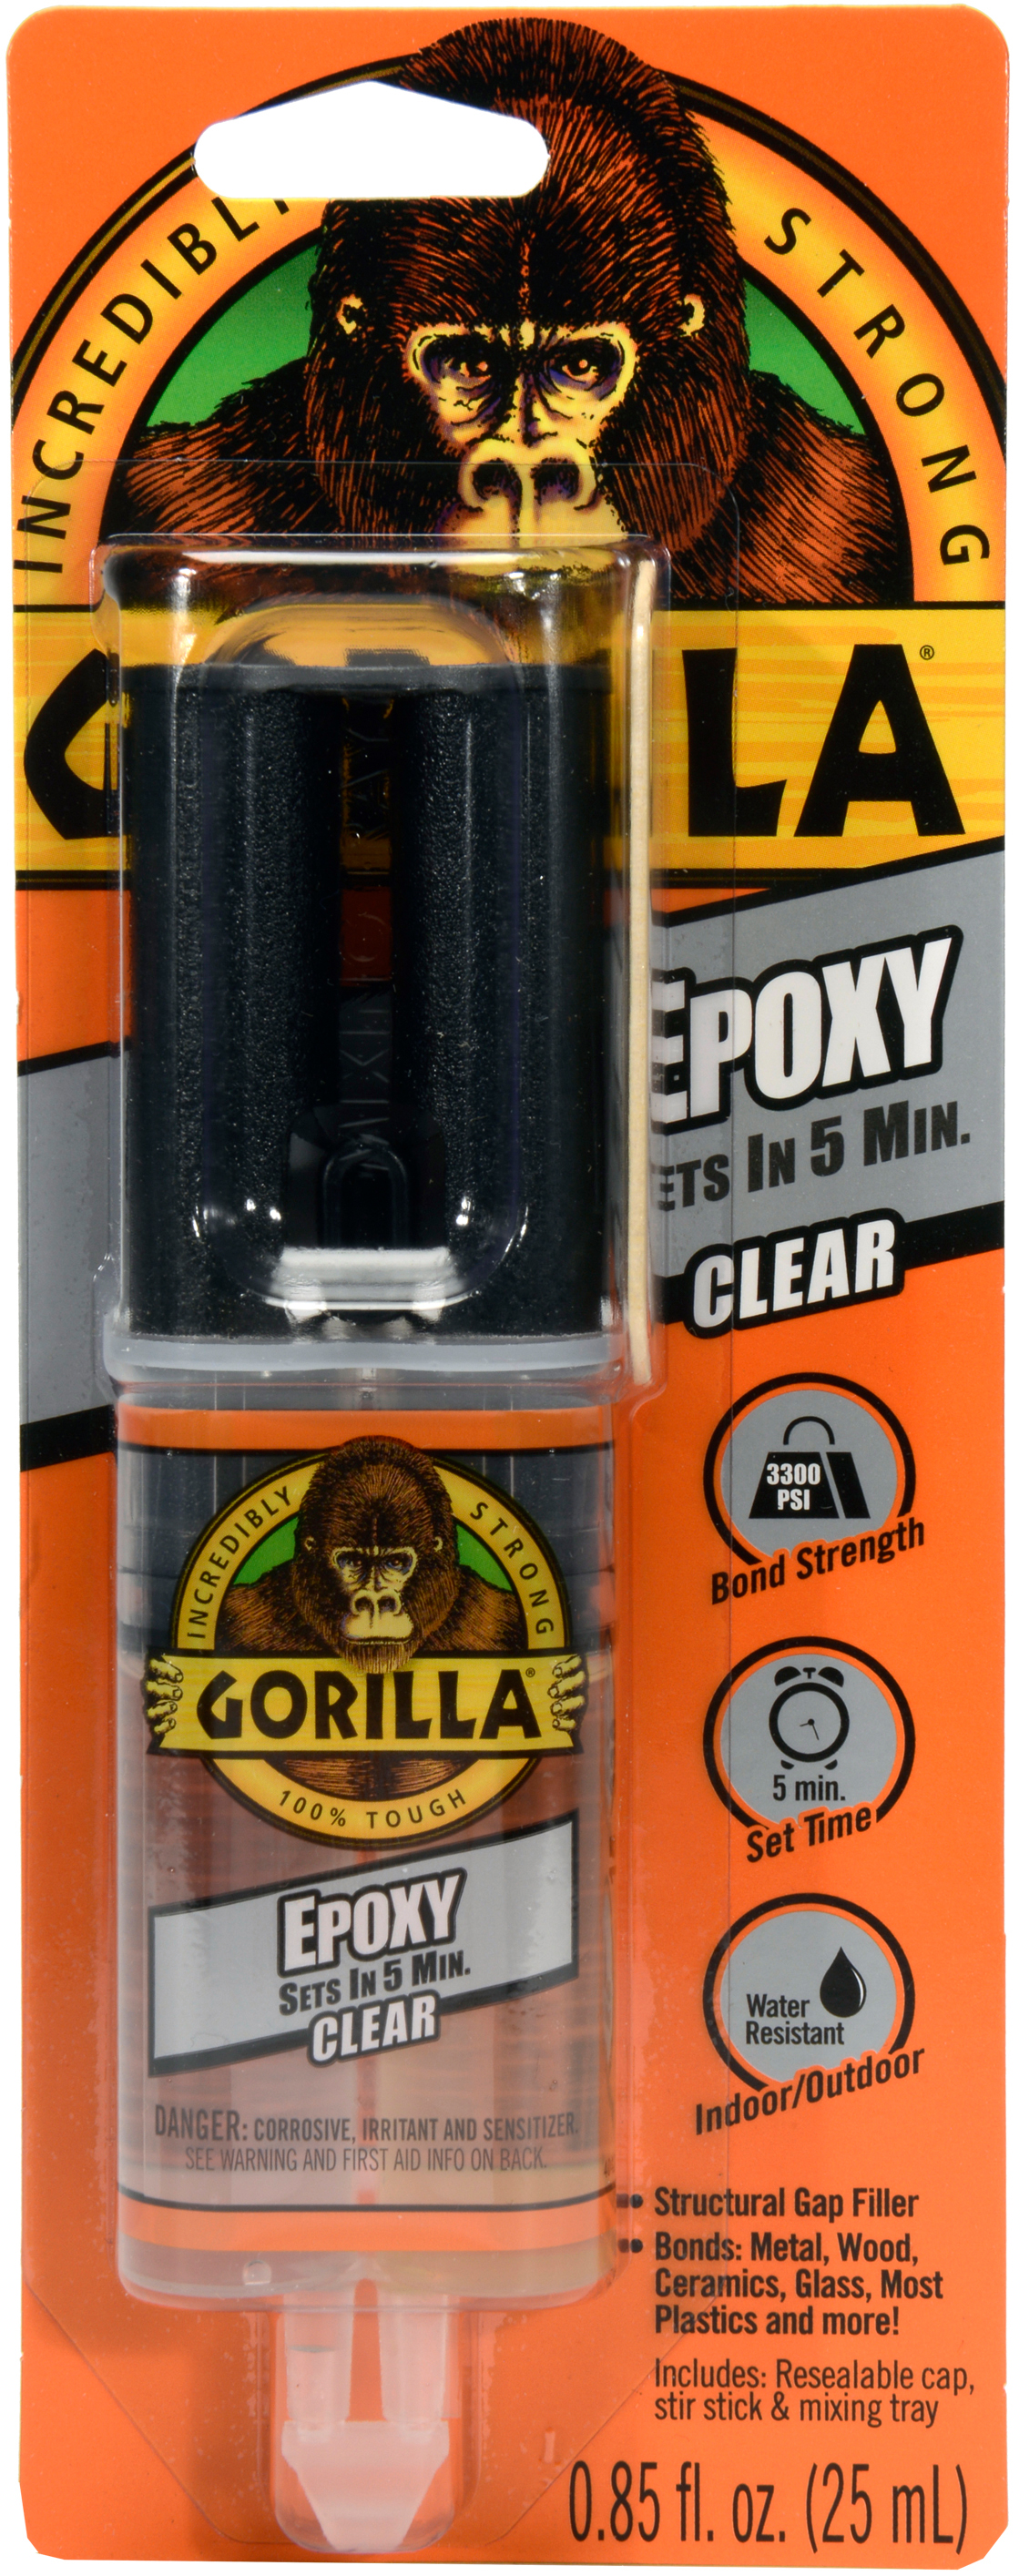 |
This is optional, I used it for reinforcing seams in the foam after contact cement. Tedious, but my base is NEVER coming apart after using this. |
| Pleather |  |
For the outer part of the tentacles, you can use any stiff and smooth/shiny fabric, but this is my recommendation. |
| White Cotton |  |
Fabric used for the inner part of the tentacles, doesn't have to be cotton, just a soft white fabric, this is probably going to be rubbing up against your skin so go with something you don't mind the feeling of for extended wear. |
| Stuffing | 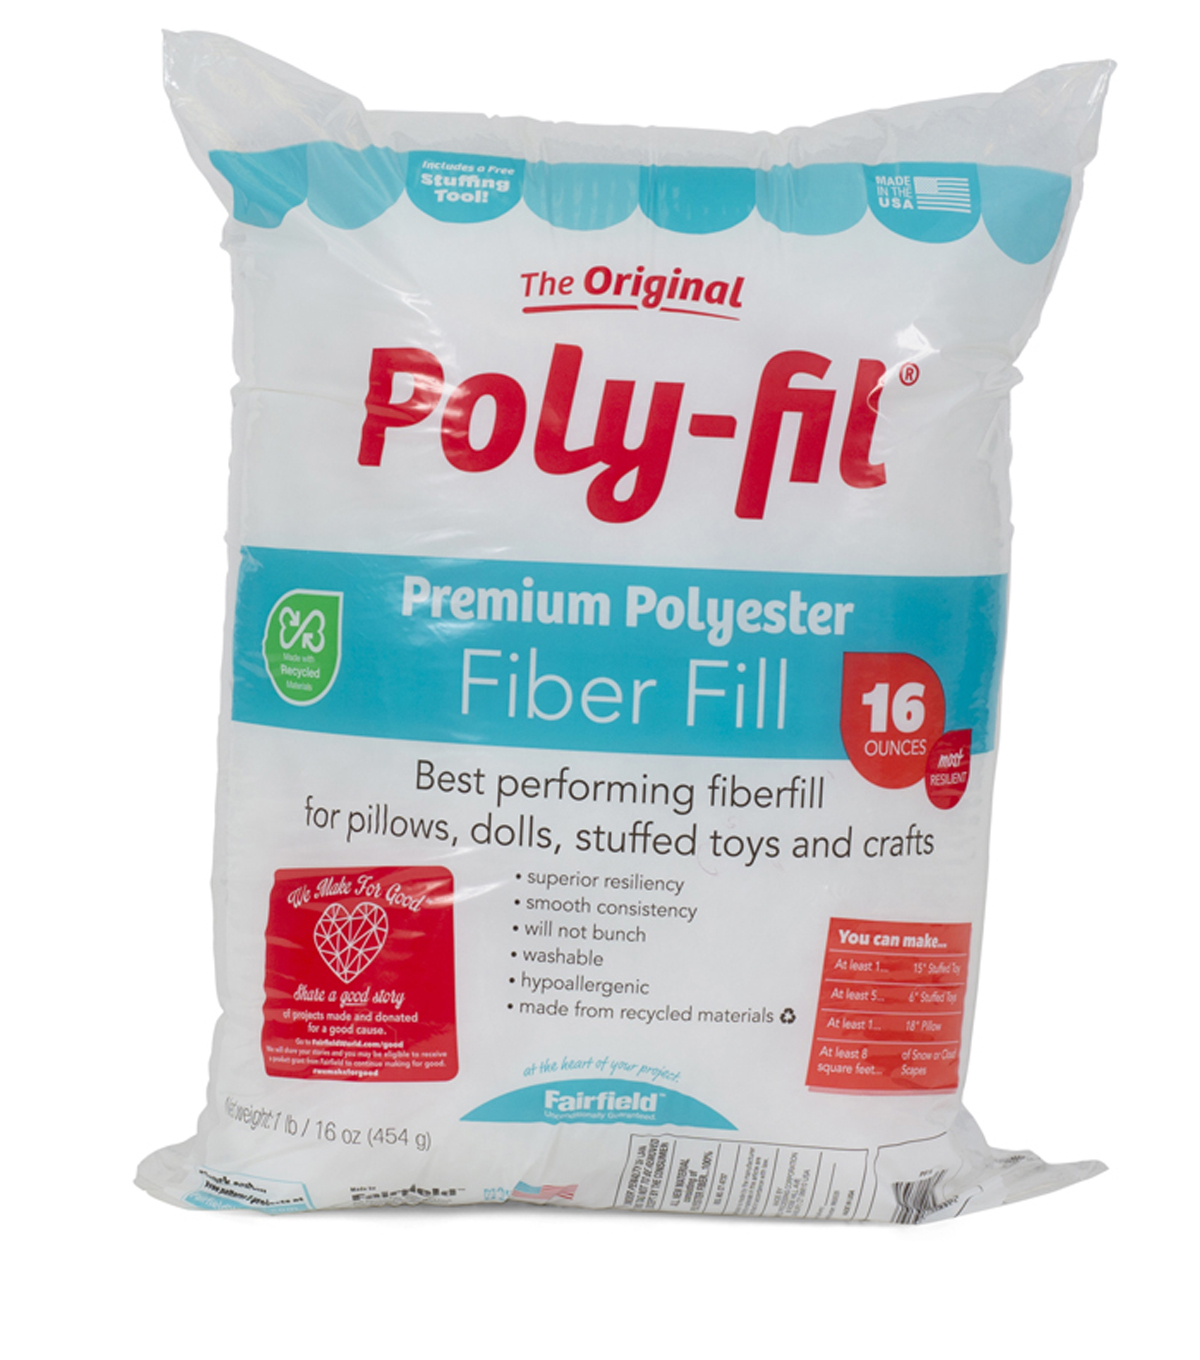 |
Used for stuffing the tentacles to give them shape, depending on the character/ design you may want to skip the stuffing, or use a wireframe instead. |
| E6000 | 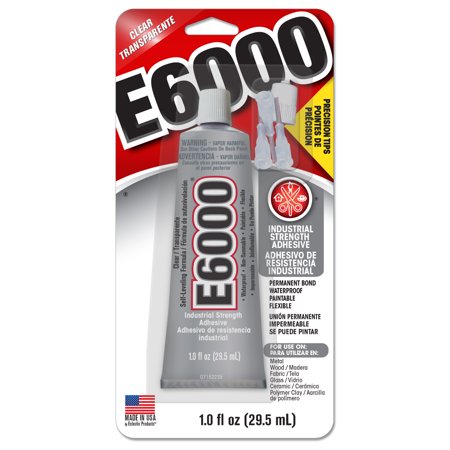 |
Glue for getting the tentacles attatched to the foam base, keep extra around just to be safe until the end. |
| Waterproof Caulk | 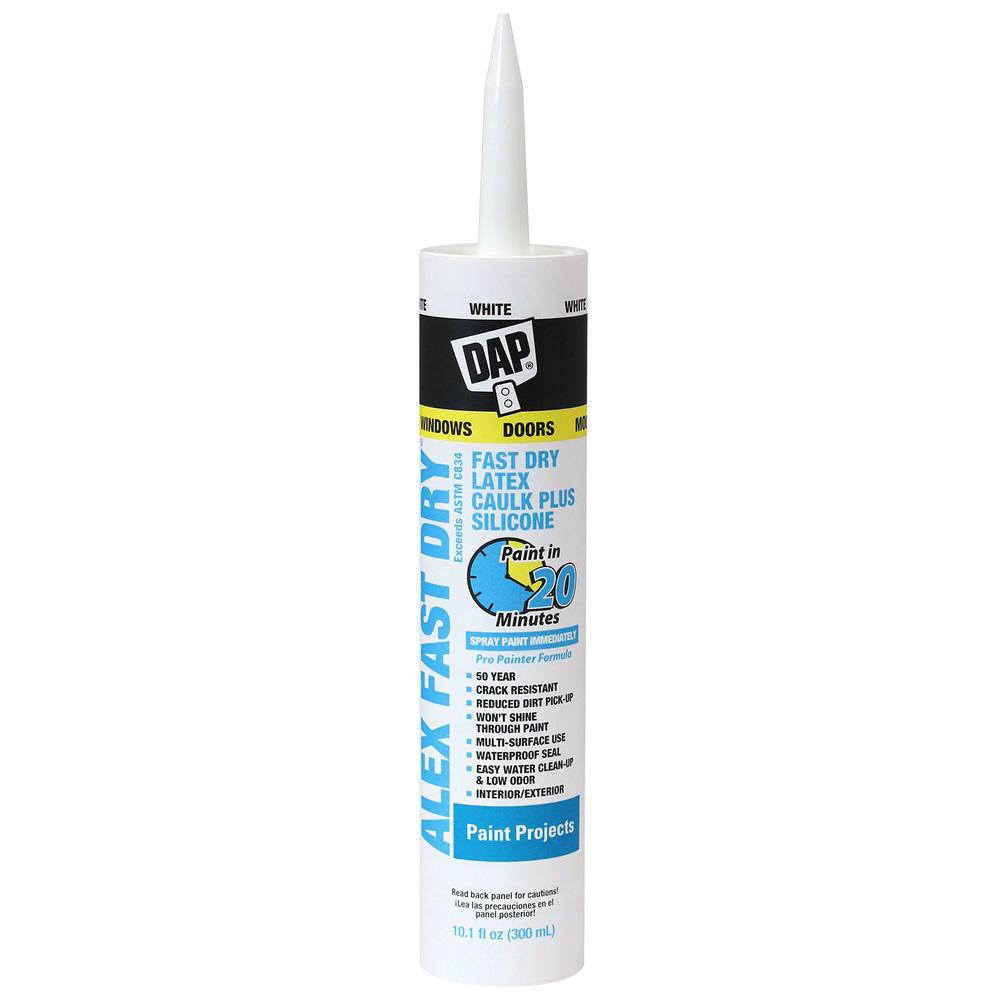 |
For filling in gaps and smoothing over seams, needs to be waterproof! |
| Sandpaper |  |
For smoothing over the caulking once it's dry to get everything really smooth and clean looking |
| Dremel | 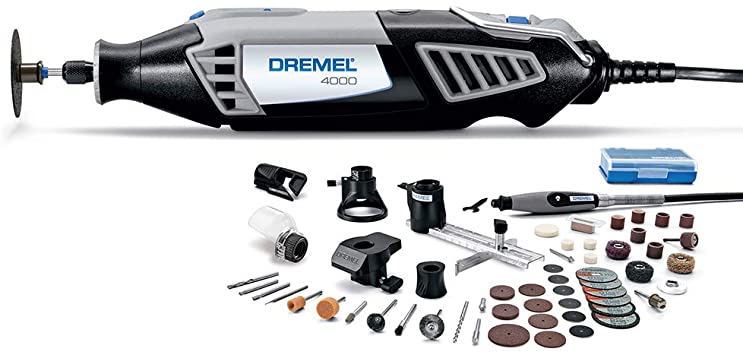 |
I didn't have one of these when I was making my headpiece but I have one now, 100% recommend, sanding by hand sucked. |
| Plastidip | 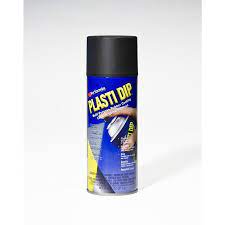 |
Goes on before your paint, maybe get 2 cans to be safe depending on the size of your headpiece. |
| Spraypaint |  |
I used three different colors to get a nice gradient, but some designs may take more/less. I'll talk more about the painting process on the steps page |